RV Electrical System Troubleshooting Guide

Introduction

Dealing with electrical problems in your RV can be both frustrating and time-consuming, especially when you’re on the road or preparing for your next big adventure. Whether it’s a sudden power loss, flickering lights, or appliances that refuse to work, troubleshooting these issues on your own can seem daunting. This guide will walk you through common electrical problems in RVs and provide practical DIY troubleshooting tips. Plus, we’ll help you understand when it’s time to call in a professional to avoid serious safety risks.


Common RV Electrical Issues

Understanding the most frequent electrical problems in RVs can help you narrow down the issue faster. Here are some of the most common culprits:

  • Battery Problems: RV batteries are the lifeblood of your vehicle’s electrical system, supplying power to all essential components when not connected to an external power source. Low charge levels or loose, corroded connections are frequent issues that can cause intermittent power loss or complete system failure.
  • Fuses and Breakers: Just like in a home, RV electrical systems have fuses and breakers designed to protect circuits from overloading. A blown fuse or tripped breaker can stop power flow to critical areas like lighting, appliances, or outlets.
  • Wiring Issues: Over time, the movement and vibrations from traveling can loosen wiring connections, or wires can become damaged due to wear or exposure. This can lead to inconsistent power delivery, short circuits, or even a complete system shutdown.

DIY Troubleshooting Steps

While some issues may require professional help, there are a few basic troubleshooting steps you can take on your own to diagnose and fix simpler electrical problems:


1. Check the Batteries

Start by checking the condition of your RV’s batteries. Ensure they are fully charged by using a multimeter to measure voltage levels. A fully charged 12V battery should read between 12.6 and 12.8 volts. If the battery is undercharged, check for corroded or loose connections at the terminals. Clean and tighten as needed.


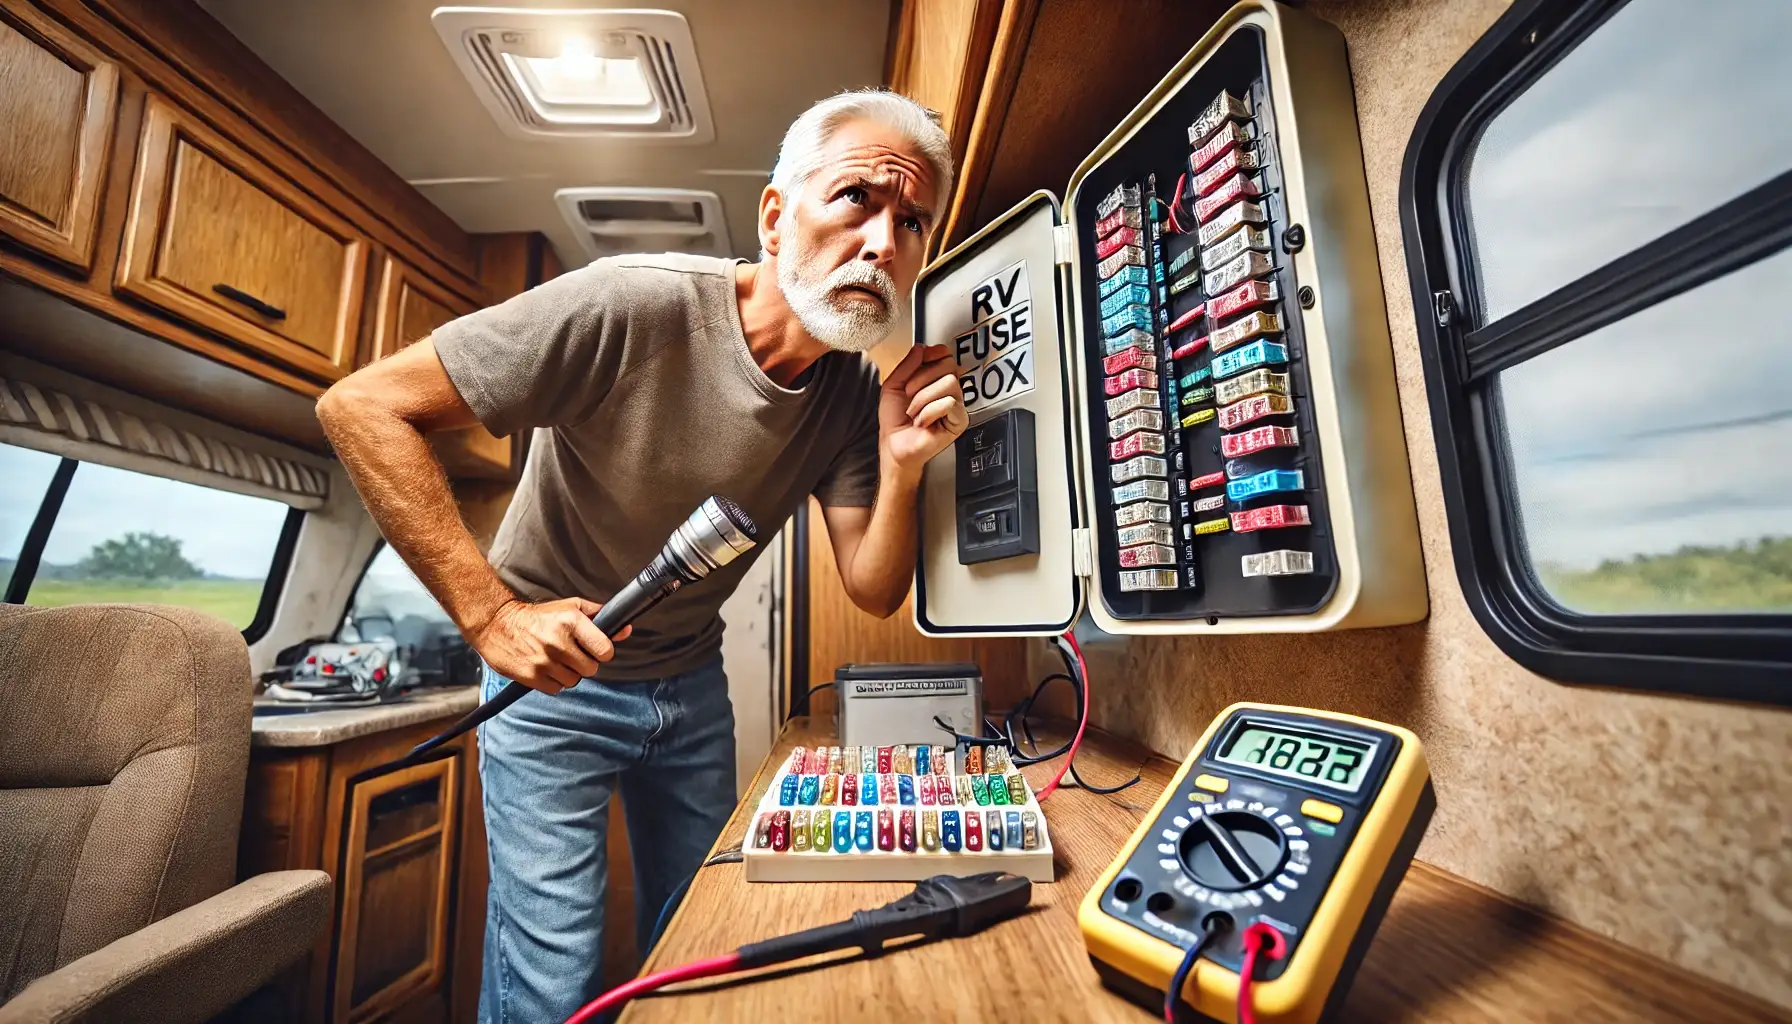
2. Inspect Fuses and Breakers

The next step is to inspect the fuses and breakers. Look for any blown fuses in the control panel. If you find one, replace it with a fuse of the same amperage. For breakers, check if any have tripped and reset them by switching them off and then back on. Keep in mind that continuous tripping of the same breaker might indicate a deeper issue, such as an overloaded circuit or faulty wiring.


3. Test Appliances

If your RV appliances aren’t working, there could be a problem with the specific appliance or the outlet providing power. Test each appliance by plugging it into a working outlet, or try using a known good appliance in the problem outlet. If the appliance works in a different outlet, the issue might lie with the original outlet’s wiring or connection.


When to Seek Professional Help

Although many RV electrical problems can be diagnosed and fixed with basic troubleshooting, there are situations where seeking professional help is necessary. If you notice:

  • Persistent power failures despite replacing fuses or resetting breakers
  • Flickering lights or appliances not receiving consistent power
  • Burning smells or signs of overheating near outlets or the electrical panel
  • Signs of damaged wiring, such as exposed wires, cuts, or fraying

It’s critical to consult with a certified RV technician. Electrical systems can be dangerous, and attempting complex repairs without proper knowledge could lead to further damage or safety hazards.


Certified RV Repair LLC’s Electrical Services

At Certified RV Repair LLC, we specialize in diagnosing and repairing electrical systems for all RV makes and models. Whether you’re experiencing battery issues, wiring faults, or problems with your RV appliances, our expert technicians are equipped with advanced diagnostic tools to get to the root of the issue quickly and efficiently.

We only use high-quality parts, ensuring your RV’s electrical system is restored to optimal condition. With our factory-certified technicians and deep industry knowledge, you can trust that your RV will be repaired to the highest standards of safety and performance.


Conclusion

A well-functioning electrical system is essential for the comfort and safety of your RV travels. By understanding common electrical problems and knowing some basic troubleshooting steps, you can handle minor issues on your own. However, for more complex or persistent problems, don’t hesitate to seek professional help to keep your RV in peak operating condition.

If you’re in need of professional RV electrical system repair, contact Certified RV Repair LLC today to schedule an inspection and repair service. Our team is here to ensure your RV runs smoothly, no matter where the road takes you!

The Benefits of Aftermarket Installation of a RV Tankless Water Heater

RV Tankless Water Heater | Great for Life on the Road

Switching your RV’s water heater from a traditional tank model to a tankless system, like the Truma AquaGo, can significantly enhance your on-the-road experience. Tankless water heaters provide an on-demand supply of hot water, which is particularly appealing for RV owners who want to enjoy long, uninterrupted showers or need hot water instantly at multiple points within the RV. Here’s a detailed look at why upgrading to a tankless water heater is a smart move, and why it’s crucial to have this installation done by a certified RV technician.

Advantages of Tankless Water Heaters

  1. Endless Hot Water Supply: Unlike traditional tank water heaters, which can run out of hot water after a certain point, tankless systems heat water as it passes through the unit. This means you can enjoy continuous hot water for showers, washing dishes, or any other needs without worrying about running out.
  2. Energy Efficiency: Tankless water heaters are generally more energy-efficient because they only heat water when needed, rather than keeping a tank of water constantly hot. The Truma AquaGo, for example, is propane-powered and designed for efficiency, reducing your overall energy consumption.
  3. Space-Saving Design: Tankless systems are more compact, freeing up valuable space in your RV. This is especially important in an environment where every inch counts.
  4. Reliable Performance in Various Conditions: High-quality tankless water heaters, like the Truma AquaGo, are equipped with features that allow them to operate efficiently even in cold conditions, provided your RV is prepared for winter. This reliability is essential for those who travel in varying climates.

Installation Considerations

Switching from a tank water heater to a tankless system involves more than just swapping units. Here are the key steps and considerations:

  1. Modifying the Water and Gas Lines: The installation may require rerouting or modifying your RV’s water and gas lines to accommodate the new system. Tankless units often have different inlet and outlet configurations compared to traditional tank heaters.
  2. Electrical Adjustments: Although tankless water heaters like the Truma AquaGo are primarily propane-powered, they still require a 12V electrical connection for their electronics. Ensuring that your RV’s electrical system is compatible and properly connected is crucial.
  3. Ventilation Requirements: Tankless water heaters need proper ventilation to safely expel exhaust gases. The installation might require modifications to the RV’s exterior to fit a new vent or adjust existing ones.
  4. Fitting the Unit: Tankless systems are designed to fit into the space left by traditional tank heaters, but some adjustments to the compartment size or door may be needed.

Why You Need a Certified RV Technician

Given the complexities involved in the installation process, it’s important to have a certified RV technician perform the work. Here’s why:

  1. Expertise in RV Systems: Certified technicians have the specialized knowledge required to handle the intricacies of RV plumbing, electrical systems, and ventilation. This expertise ensures that the installation is done correctly and safely.
  2. Warranty Protection: Many manufacturers, including Truma, require that their products be installed by certified professionals to maintain the warranty. An improper installation could void your warranty, leaving you without protection if something goes wrong.
  3. Safety: Installing a tankless water heater involves working with gas, electricity, and water—all of which can pose safety risks if not handled correctly. Certified technicians follow strict safety protocols to prevent accidents or damage to your RV.
  4. Maintenance and Longevity: Proper installation by a certified technician can also impact the long-term performance and maintenance of your water heater. For instance, the Truma AquaGo includes features like an automatic decalcification process, which can be easily maintained with regular servicing by a professional.

Conclusion

Upgrading to a tankless water heater like the Truma AquaGo can vastly improve your RV lifestyle, offering endless hot water, improved energy efficiency, and space-saving benefits. However, due to the complexity of the installation, it’s essential to have this upgrade performed by a certified RV technician. Doing so not only ensures a smooth and safe installation but also protects your investment in the long run.

For more information on RV upgrades and to schedule your tankless water heater installation, contact Certified RV Repair today. Our certified technicians are ready to help you make the most of your RV adventures.

Why You Should Choose RV Factory Certified Repair Technicians

Introduction
When it comes to maintaining and repairing your RV, the importance of choosing factory-certified repair technicians cannot be overstated. These professionals bring a level of expertise, reliability, and precision that ensures your RV remains in top condition, ready for any adventure. This blog will delve into the many reasons why opting for factory-certified technicians is the best decision you can make for your RV repair needs, offering you peace of mind and long-lasting results.


Benefits of RV Factory Certified Technicians


Expertise and Training

Factory-certified repair technicians undergo rigorous and comprehensive training, covering every aspect of RV systems—from electrical and plumbing to HVAC and structural components. Their in-depth knowledge allows them to diagnose issues accurately and perform repairs that meet the manufacturer’s standards. This level of expertise is not just about fixing problems but about ensuring that your RV functions as efficiently as it did when it was brand new.


Quality Assurance

One of the significant advantages of working with factory-certified RV repair technicians is the assurance of quality. These professionals are held to high standards set by the RV manufacturers themselves. This means that every repair is conducted using the best practices, tools, and materials available. Quality assurance translates to fewer return visits for the same issue and a longer lifespan for your RV’s components, saving you time and money in the long run.


Access to Genuine Parts

Factory-certified technicians often have direct access to OEM (Original Equipment Manufacturer) parts or high-quality components that are specifically designed for your RV model. This ensures that repairs are not just a temporary fix but a long-term solution. The use of genuine parts also means that your RV maintains its integrity, performance, and value.


Comprehensive Diagnostics and Repair

Factory-certified repair technicians are equipped with advanced diagnostic tools and techniques that allow them to identify even the most elusive issues in your RV. Whether it’s a minor electrical fault or a complex mechanical problem, factory-certified technicians can address the root cause, ensuring that the issue does not reoccur. Their ability to perform comprehensive diagnostics means that your RV is thoroughly inspected and repaired, minimizing the chances of unexpected breakdowns during your travels.


Safety and Compliance

Safety is paramount when it comes to RV repairs. Factory-certified technicians are trained to adhere to all safety regulations and standards, ensuring that your RV is safe to operate. They are also knowledgeable about the latest compliance requirements, including emissions standards and environmental regulations, making sure your RV is up-to-date with all legal requirements.


Warranty Protection

Many RV manufacturers require repairs to be performed by factory-certified technicians to maintain the warranty. Choosing a factory-certified repair shop ensures that your warranty remains intact, giving you additional protection and peace of mind. This can be particularly important for new RV owners who want to safeguard their investment.


Conclusion
When it comes to RV repair, choosing factory-certified technicians is the best way to ensure high-quality, reliable, and safe repairs. Their extensive training, access to genuine parts, and adherence to manufacturer standards make them the go-to choice for RV owners who want to keep their vehicles in top condition. Whether you’re dealing with a minor issue or need a major repair, factory-certified RV repair technicians offer the expertise and assurance you need to get back on the road with confidence.

Guide to RV Slide Out Problems

Introduction

Slide outs are a fantastic feature of modern RVs, offering additional space and comfort. However, they can occasionally malfunction, causing frustration and inconvenience during your travels. This comprehensive guide will help you understand common issues with slide outs and how to repair them effectively, ensuring you can enjoy your RV experience without interruption.


Common RV Slide Out Issues

Slide outs, though highly beneficial, can suffer from various problems over time. Some of the most common issues include motor failures, misalignment, and seal damage. Regular maintenance and inspection can prevent many of these problems, but understanding how to address them when they occur is crucial for any RV owner.


Motor Failures

One of the primary issues with slide outs is motor failure. The motor is responsible for extending and retracting the slide out, and any malfunction can render it inoperable. Symptoms of motor failure include unusual noises, sluggish movement, or complete failure to move.


Misalignment

Misalignment can occur due to wear and tear or impact. When a slide out is misaligned, it may not extend or retract smoothly, causing strain on the mechanism and potential damage to the RV structure. Signs of misalignment include uneven extension, gaps, or resistance during operation.


Seal Damage

Seals around the slide out prevent water and air from entering the RV. Over time, these seals can become worn or damaged, leading to leaks and drafts. Inspecting and maintaining these seals is essential to keep your RV comfortable and protected from the elements.


DIY Slide Out Repair Steps

  1. Diagnosis:
    • Identify the issue by listening for unusual noises or checking for physical obstructions. Pay close attention to the symptoms, as they can provide valuable clues about the underlying problem.
  2. Basic Fixes:
    • Lubricate the slide mechanisms and check the electrical connections. Proper lubrication ensures smooth operation, while secure electrical connections prevent power-related issues. Use appropriate lubricants and follow the manufacturer’s recommendations.
  3. Seal Replacement:
    • Replace worn-out seals to prevent leaks and drafts. Inspect the seals regularly for signs of wear, such as cracks, gaps, or brittleness. When replacing seals, ensure you use high-quality materials and install them correctly to maintain a tight seal.


When to Call a Professional

While many slide out issues can be addressed with basic DIY repairs, some problems require professional intervention. Complex issues like motor replacements, extensive alignment corrections, or structural repairs should be handled by professionals to avoid further damage and ensure the longevity of your RV. Attempting to fix these problems without the proper knowledge and tools can lead to costly mistakes.


Certified RV Repair LLC’s Services

Our skilled technicians at Certified RV Repair LLC specialize in slide out repairs. With access to top-tier parts and extensive industry experience, we ensure your slide outs operate smoothly and efficiently. Whether you need a motor replacement, alignment correction, or seal installation, our team is equipped to handle all aspects of slide out maintenance and repair. Trust Certified RV Repair LLC to keep your RV in top condition, so you can focus on enjoying your adventures on the road.

By following this guide and knowing when to seek professional help, you can maintain your RV’s slide outs in optimal condition, ensuring a comfortable and enjoyable travel experience.

Guide to RV Roof Repair

Guide to RV Roof Repair – Introduction

RV roof repair is a crucial aspect of RV maintenance that ensures the longevity and safety of your vehicle. Whether you’re dealing with leaks, cracks, or general wear and tear, understanding the process and knowing where to find reliable services is essential. This comprehensive guide will provide you with detailed information on how to identify roof issues, the difference between DIY and professional repairs, and how to choose the right repair service.


Identifying RV Roof Issues

Regular inspections are key to maintaining your RV roof. Look for common signs of damage such as:

  • Cracks and Punctures: These can occur due to tree branches, hail, or other impacts.
  • Water Stains: Indicate potential leaks that can lead to severe water damage if not addressed promptly.
  • Soft Spots: May suggest rotting wood underneath the roofing material.
  • Mold or Mildew: Often found in areas where water has penetrated the roof.

Catching these issues early can prevent more costly repairs down the line. Utilize a flashlight to inspect for water stains on the ceiling and walls inside the RV, and ensure to check around roof-mounted accessories like vents and air conditioners.


DIY vs. Professional RV Roof Repair

While some minor repairs can be handled by DIY enthusiasts, major issues should be addressed by professionals. Here’s a breakdown of what each entail:


DIY RV Roof Repairs:

  • Sealing Small Leaks: Using sealants or RV roof tape to cover minor leaks and prevent water ingress.
  • Applying Roof Coating: Roof coatings can provide an additional layer of protection against the elements and UV damage.
  • Replacing Damaged Shingles or Panels: If your RV roof has shingles or panels, replacing damaged ones can prevent further issues.

Professional RV Roof Repairs:

  • Extensive Leak Repair: Involves removing and replacing large sections of the roof material, and potentially the underlying structure.
  • Roof Replacement: For severely damaged roofs, a complete replacement may be necessary.
  • Advanced Sealant Applications: Professionals use high-quality sealants and techniques to ensure a long-lasting repair.

Choosing the Right RV Repair Service

When searching for “RV roof repair near me,” consider the following factors to ensure you choose the best service provider:

  • Reputation: Look for reviews and testimonials from other RV owners. Websites like Yelp, Google Reviews, and RV forums can provide valuable insights.
  • Certifications: Ensure the technicians are factory-certified and have the necessary training to handle RV-specific repairs.
  • Experience: Choose a service with extensive experience in RV roof repairs, as this indicates a deeper understanding of the unique challenges posed by RV roofs.
  • Location: Proximity to your location can save time and reduce costs. Additionally, local service providers may be more familiar with the common issues faced by RVs in your area.

Certified RV Repair LLC’s Expertise
At Certified RV Repair LLC, our team of factory-certified technicians provides top-notch RV roof repair services. Located in Elkhart, Indiana, we leverage our connections with leading RV parts suppliers to source high-quality materials quickly. Our services include:

  • Comprehensive Roof Inspections: Detailed assessments to identify all potential issues.
  • High-Quality Repairs: Using the best materials and techniques to ensure long-lasting results.
  • Quick Turnaround Times: Our efficient processes and well-stocked inventory mean we can complete repairs quickly, minimizing downtime for you.

By choosing Certified RV Repair LLC, you can rest assured that your RV is in expert hands. We are committed to providing exceptional service and ensuring your RV is in optimal condition, ready for your next adventure. Contact us today to schedule an inspection or repair service and experience the difference of working with true RV repair professionals.